Fling to Climb Obstacles and Hazards
Read lava, ice, and wind before they delete a twenty-minute climb.
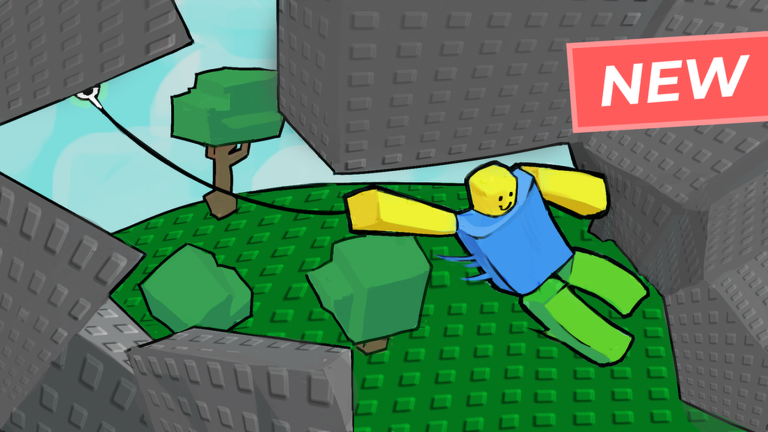
The official Fling to Climb! description calls out three headline hazards: lava, ice, and wind. This guide explains how each one changes grip timing, release angles, and checkpoint strategy so you stop treating every death as random physics.
Use this page after Getting Started and controls and sensitivity. When a section still feels unfair, film one attempt, then compare with the drills in advanced fling.
Hazard overview
| Hazard | Main threat | Player response |
|---|---|---|
| Lava | Instant or fast fail on contact / linger | Short grips, decisive releases, never panic-hop into glow |
| Ice | Low friction, sliding launches, mistimed re-grips | Gentler aim changes, earlier commits, expect drift |
| Wind | Push off your chosen vector mid-air | Aim with the push or against it on purpose — never ignore it |
Exact damage numbers can shift during beta-style patches. Watch the Updates Hub after major changes. The habits below stay useful even when values tweak.
Lava sections
Lava punishes hesitation. Players who micro-adjust forever on a hot wall either burn or release into a dead angle. Prep the launch before you touch the risky panel when a safer adjacent rock exists. If the only grip is beside lava:
- Enter with sensitivity already tuned (see sensitivity setup).
- Hold just long enough to finish the aim.
- Release on a moving camera toward a cool landing.
- Do not try to “stick and think” mid-lava.
Double Length from the game passes guide can help you skip some awkward lava-adjacent grips by grabbing farther faces, but it is not a lava immunity pass.
Ice sections
Ice turns small aim errors into large lateral slides. Common mistakes:
- Flicking as hard as you would on dry rock
- Releasing late after the character has already started drifting
- Chasing a perfect cosmetic camera angle instead of a good-enough launch
On ice, prefer earlier, cleaner releases and be ready to re-grip a backup wall. If a perk extends grab range, ice is where that perk earns its keep — details in perks and power-ups. Rank relative perk value on the perks tier list.
Wind sections
Wind is a vector problem. Mid-air, your carefully aimed fling becomes “aimed fling plus wind.” Solutions:
- Ride it when wind points toward the next ledge — release earlier and let the push finish the distance.
- Pre-aim against it when wind blows you off-route — start the release aimed slightly into the wind.
- Segment the climb — take a short safe fling to a midpoint rather than one heroic launch through the tunnel.
Other players add chaos in windy choke points. Expect bumps; practice recovery launches so a collision is not an automatic reset to the last checkpoint.
Checkpoint discipline around hazards
Never skip a checkpoint because “the next skip looks cool.” Hazard belts exist to delete greedy skips. Open the climb checklist before you push a new belt. If you are farming coins near a dangerous overlook, read coins and skins so you are not risking a long run for a single pickup you could grab on a safer loop.
Multiplayer hazard etiquette
Crowded lava ledges are meme death zones. Wait a half-second if three avatars are releasing at once. Using player-fling perks into lava is effective griefing and will earn you enemies — and sometimes reports. Play the objective: height and checkpoints.
Practice route suggestion
- Identify which hazard kills you most on your current height band.
- Spend a full session only on that hazard type instead of forcing a summit.
- Combine with reach the top pacing once each hazard has a personal “I know this pattern” feeling.
- Cross-check paid help on the game pass tier list if grab distance or sprint would specifically remove a soft gate.
Related wiki links
- Guides Hub for the full tutorial list
- Advanced Fling for chain launches through messy air
- Players badges if a hazard badge is part of your collection goal
- Links Hub for official channels when a hazard looks bugged after a patch
Master hazards one belt at a time. The summit is just several solved obstacle problems stacked vertically.
Frequently Asked Questions
Quick answers to the most common questions.
What obstacles does Fling to Climb include?
The experience highlights lava, ice, and wind as core hazards, plus the usual fall risk of a tall climbing tower with checkpoints.
Which hazard should I practice first?
Practice whichever one ends your current runs most often. For many new players that is lava hesitation or ice drift.
Does Double Length help with obstacles?
Extra grab distance can skip some awkward grips near hazards, but it does not make you immune to lava, ice drift, or wind.
Are hazard layouts permanent?
The game has been in an active update cycle. Recheck the Updates Hub after patches if a familiar belt suddenly feels different.